Now 6 months into a lease, I'm still not exactly happy with my apartment. Despite the painting, and art hanging, and pillow covering, and color coding of books, I'm still, as my sister would say, "chasing the ugly." A sane person would obviously say, "You're probably moving across the country in 8 months, you shouldn't keep decorating." But then, there's ugly, and I hate ugly.
You may recall a couple years back when I tried to
revamp my jewelry hanging system. Even after the revamp I was still a little disappointed. But, I tried to cope with the ugly, even when I moved.
Then, it fell (I'm noticing a theme here. Things just fall in this apartment. Middle of the night, thud, crash, bang). So, I rehung it. And it fell. I rehung it. It fell. And for the last 2 months, my once organized jewelry collection has looked like this. This is no way for a lady to keep her jewelry.
So, I spent some serious time on Pinterest looking for a new contraption on which to hang my necklaces. And while there are many to choose from they all have in common? They're ugly. Ugly, ugly, ugly! As my mom would say, they just look, crappy, and then she'd shake her hands in the universal sign of disgust. Finally, I identified the problem: No matter how you hang it, you can see the mess of jewelry and unless you have 5 necklaces, or keep it organized by color, that will always be ugly. What these things really need are doors hide the ugly.
After a good deal of contemplation on just how one might fashion a door onto an existing structure, I decided that it was time to give up and start over with a pre-existing long skinny cabinet. So, to the
ReStore I went in search of a cheap medicine cabinet. (If you have never been to a ReStore, you are missing out on one of the great treasures of the DIY world. I urge you to find one, go there, and buy all of the things.) I came home with this little gem that set me back $15.
The first task was to take it apart and prep it for painting. I removed sticky, cruddy hinges, masked off the mirror, and roughed the whole thing up with sand paper. I used very fine grain sand paper, which took off a thin layer of someone else's bathroom grime and leveled it out, but I recommend something a little more gritty (fine rather than ultra-fine) to get the paint to stick well to a varnished surface.
Next, I gave the whole thing three coats of my favorite Peacock blue paint. Yes, yellow would have been a more intuitive and neutral choice, but turquoise is trendy right now, and the best part of knowing that you're moving in a year is that you can make your apartment trendy as hell, and start over when you move.
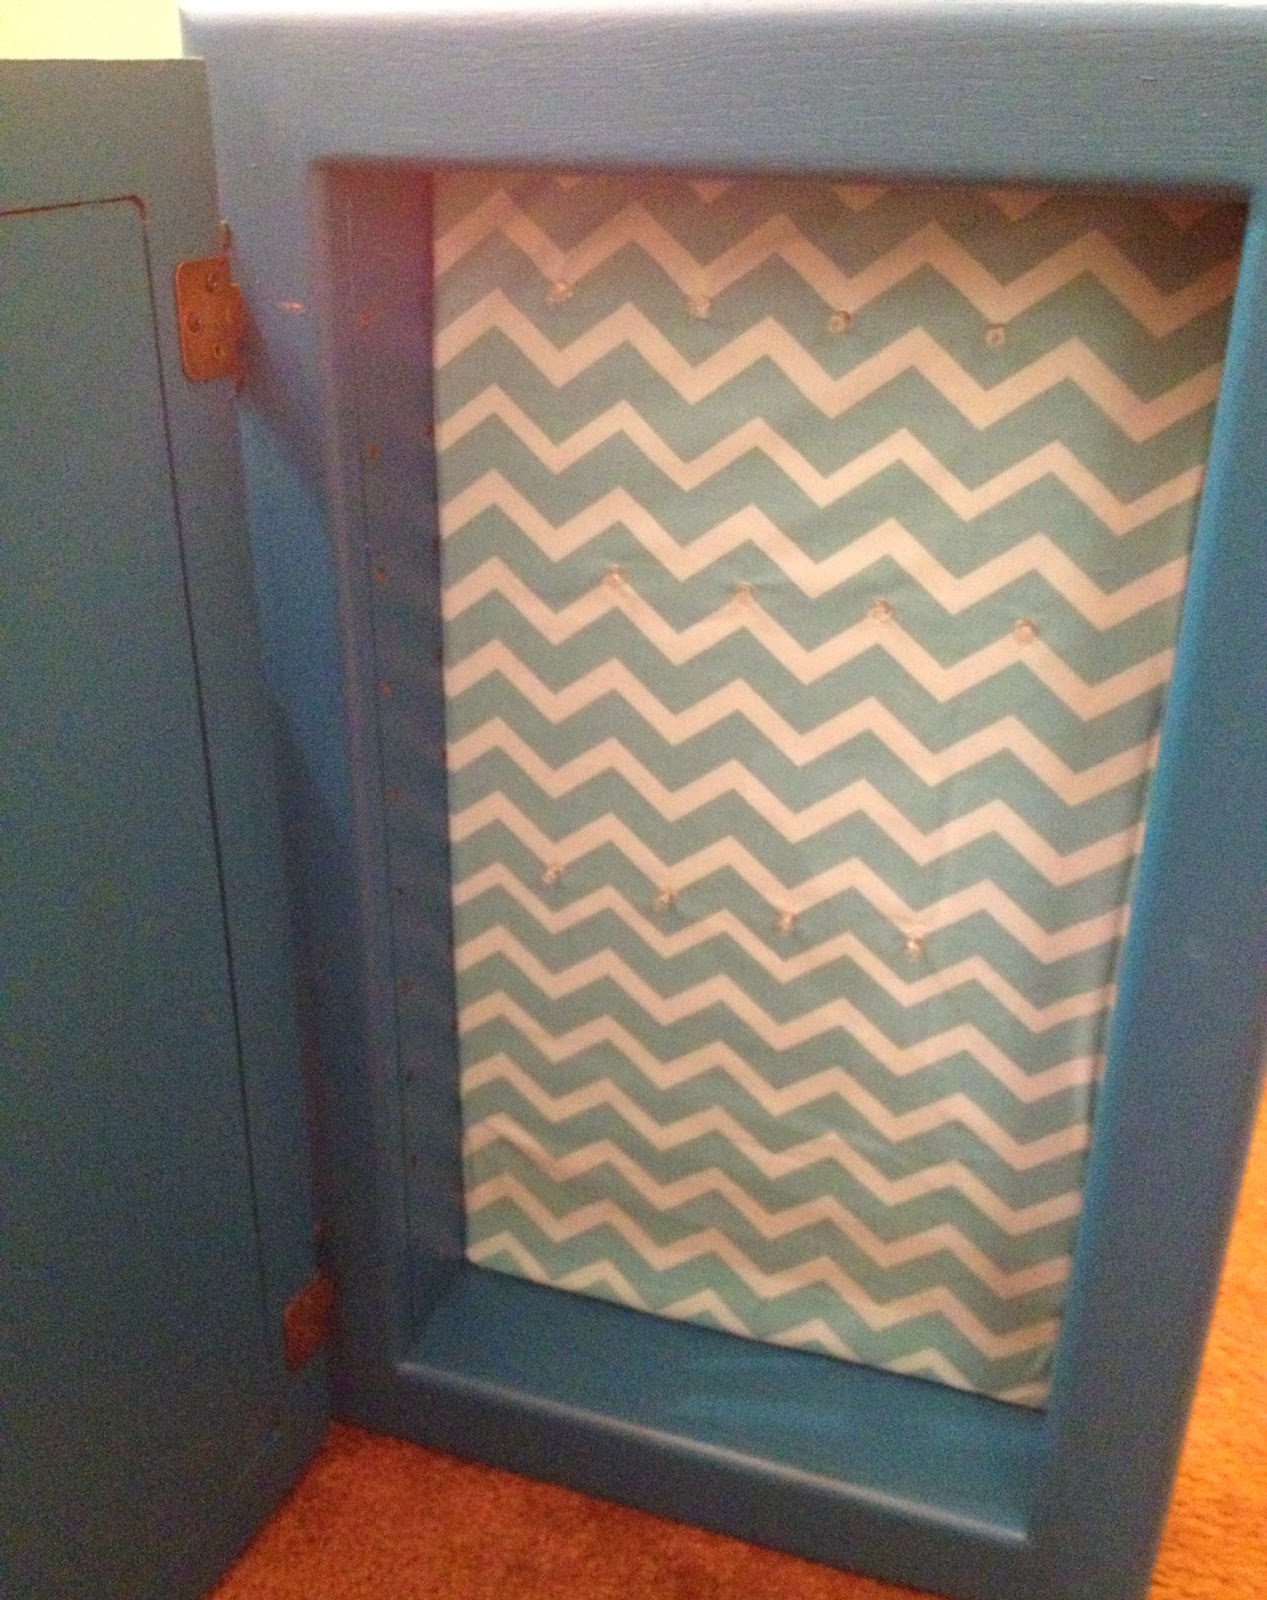
The backing on this cabinet is one very thin sheet of particle board. When I tried to put a thumb tack in it, it went right through the back. So, to give the tacks something to stick into I cannibalized my old jewelry hanger and taped it up to fit into the cabinet. (If you don't already have something like this: take a sheet of standard 1/8" foam core, cut it in half. Sandwich the 2 sheets together with some strong glue to make a 1/4" thick sheet. Then, cut to size).
Sticking with my theme of too trendy to function, I found this turquoise chevron fabric in my stash and wrapped it around the board. Knowing that no one would ever see the back, and it would be well attached inside the cabinet, I just used a couple of pieces of duct tape to hold it together. Are there tidier ways? You bet. Do I care? Not so much. If you find the fabric doesn't fit snugly around the foam core with only tape on the corners, add some to each of the 4 edges too.
The hinges needed some TCL, so I soaked them in vinegar for about 10 minutes, scrubbed them up with a toothbrush, then rinsed them and gave them a serious work over with a paste of baking soda and water. They didn't come back to their full glory, but they look much, much better, and they're not sticky anymore.
Finally, I reassembled the cabinet (and I'll have you know it only took me 2 tries to learn how to reattach a cabinet hinge). I gave the old knob a couple of coats of white spray paint for now. But, I may replace it next time I lust after a beautiful knob.
I put some clear push pins in neat rows into the foam core (chevrons help with neat rows) and started in on my jewelry collection. Things were in knots and strewn across the counter. My favorite necklaces were wrapped up around my other favorite necklaces. It was really a catastrophe. But, half an hour later I had a case full of necklaces (and even found my missing Tiffany necklace, whew!)
Then, I realized, it needed to be hung on the wall. Why didn't this occur to me an hour before? I'm not certain. But, let this be a lesson to you if you are thinking of trying this project yourself.
Paint the cabinet, reassemble the cabinet,
hang the cabinet on the wall, then move on to the pretty part. So, out came my nicely organized jewelry. I used 2 beefy screws (one in a stud, the other just for balance) straight through the back of the cabinet. Might I recommend finding a friend to help with this step, as balancing a heavy mirrored cabinet while drilling holes in the wall is not much fun. Then, just slide the foam core back into place and the screws are hidden. If your foam core doesn't fit snugly into the cabinet, try sticky back velcro to hold it in place, this way you can always take out the jewelry panel if you need to unscrew the cabinet from the wall.
The best part about this project? Ugly concealed.


Comments