Woven Felt Baskets (with tutorial)


You know what, internet, that wasn't very nice. I don't have $250 to spend on that lovely basket. You know that. But there you go, getting my heart set on it. Of course, there are cheaper versions. West Elm will sell you one for only $40. Much cheaper, but still, I was hoping for something in the $3 to $7 range.


But then, I found this tutorial from Peach Vintage and really got excited. At least her baskets had a little more dignity! While she did a lot more sewing than I wanted to, her outcome was a lot better than the others I'd seen.
Soon, I returned home from the fabric store with 1 1/4 yards of 72 inch wide cream colored felt, turned my fan on full blast, hit play on pandora, and set to work. About 2 hours later I was thrilled with my outcome, and set back to JoAnns for 3 more yards of felt to make my whole closet uniform and "photo ready."
I know the internet has plenty of tutorials for these damn things, but I think it could use a few more that don't suck. So, here's how you make 12x12 woven felt storage bin on the cheap.
You'll need:
Rotary cutter and mat
Sewing machine
About 1 yard of 72" wide felt
Step 1: Cut the felt
Cut 12 strips of felt (2" wide by 45" long)
Cut 5 strips of felt (4" wide by 48" long)

Step 2: Sew up your rounds
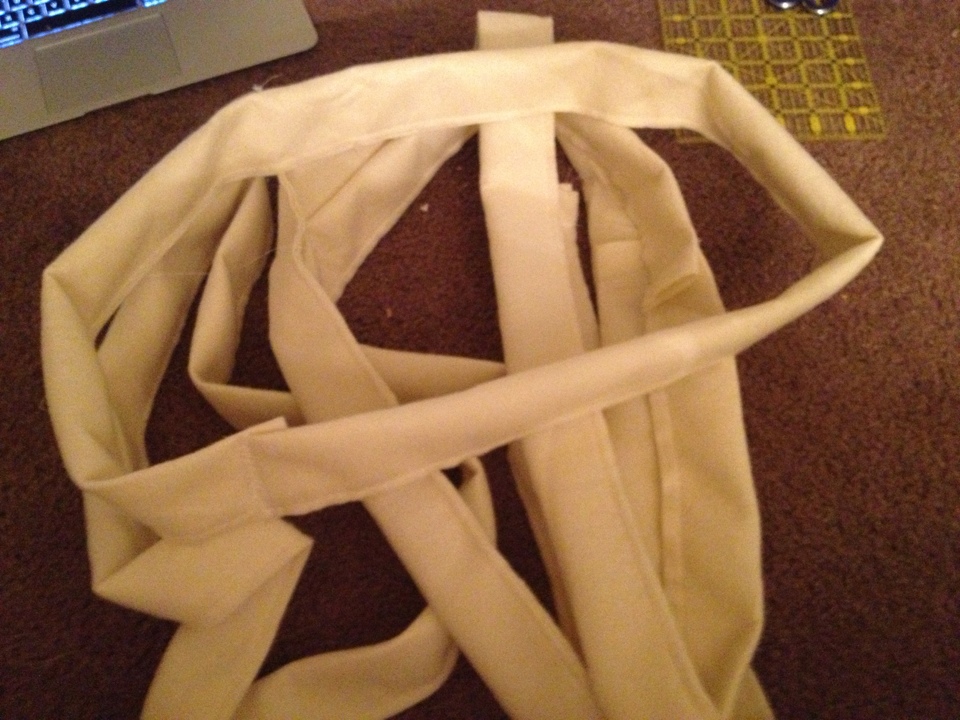
Fold one of your wide strips in half lengthwise (hot dog style) so it is 2" x 48" and sew across the long edge, creating a double thickness. You do not need to "turn" these. Just let your raw edges be. Then, join the two ends of the strip to create a loop, overlapping the ends about 1/2 inch. Use a zig zag stitch on both raw edges. Repeat with all 5 strips. When they're done, they'll look like this.
Step 3: Begin weaving.
Start by laying 6 narrow strips out next to each other on your surface. Then weave the other 6 (going over, then under, over, then under) into those strips. Be sure this is in the middle of the strips. You can check this by just measuring the unwoven tails on each side. It they should be about 16" on each side.

Step 4: Build vertical
Place your first loop on top of your woven surface. This is the trickiest part of the whole process. You must outsmart the weaving. Strips that ended on the outside (on the work surface) need to go inside the loop. Strips that ended inside (that is on top of the other strip) need to stay outside of the loop. Got it? Take a minute, look at the picture, let it soak in.

Then, put your next loop on top of the stack. Take the 12 ends that are inside the basket and pull them outside (over the top of the loop). Take the 12 ends that are outside and put them inside the basket. Repeat this process for all of the loops.

Step 5: Finishing
When you get to the last strip, you may find that your ends are getting pretty short. Give them a good tug to get any slack out of your weaving. You should have a long enough end to wrap it over the top loop and tuck it in on the other side. If there is too much fabric, trim the tail so that it just tucks under the top loop.

Now, you're invested. You really want the basket. So, you're going to do this part, even though its crappy. Sorry. Take your basket (which looks done, right?) to the sewing machine. You're going to need to cram the top loop under the presser-foot and run a row of stitches around the bottom of that top strip to keep all of those tails you just tucked in where they belong.

And you're done! Once you've made one, you'll want to make 5! Each one will be faster than the last, I promise!


Comments